MAX7219 7-segment LED Driver Board

MAX7219-Animation-medium

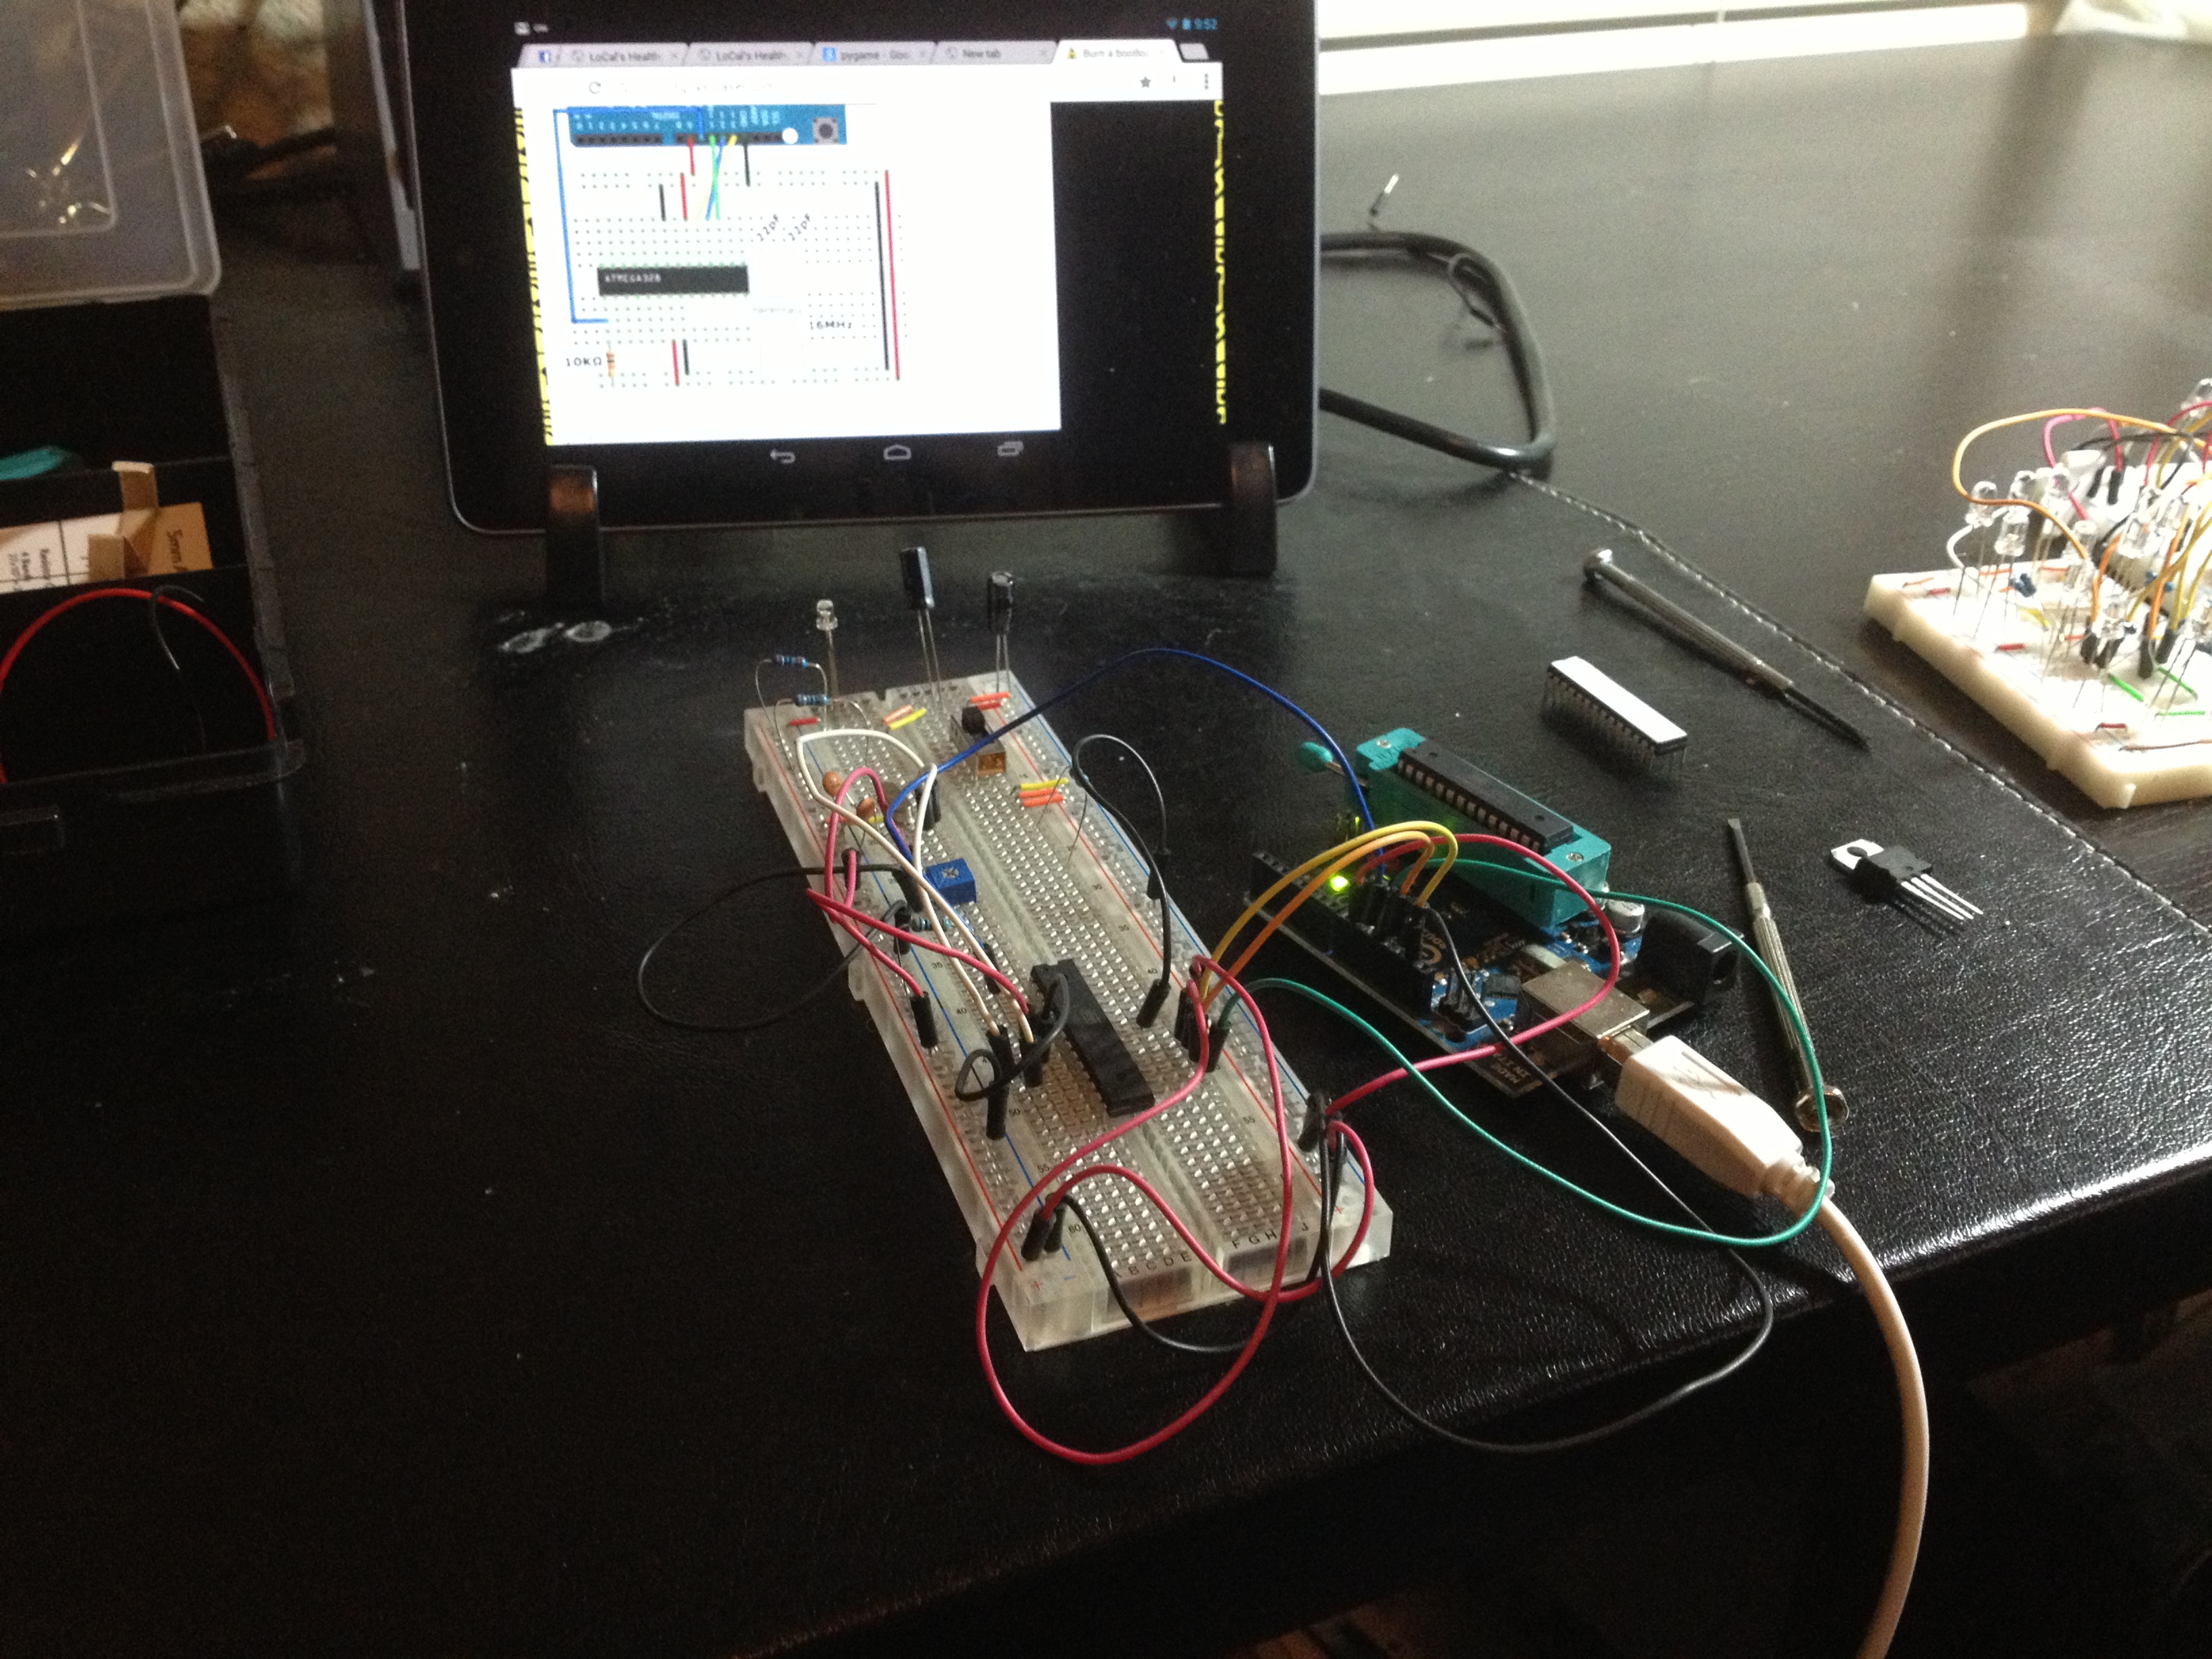
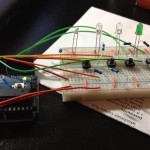
When starting to work on my alarm clock project, I decided it would be a good idea to design a little independent display that I could attach to many Arduino projects and integrate into their designs. I started out using the 74HC595 shift register to independently control 4 7-segment displays, but the setup used a lot of chips (74HC595) and a lot of connections, as you can see in the below photo:

Bit Shift Connections

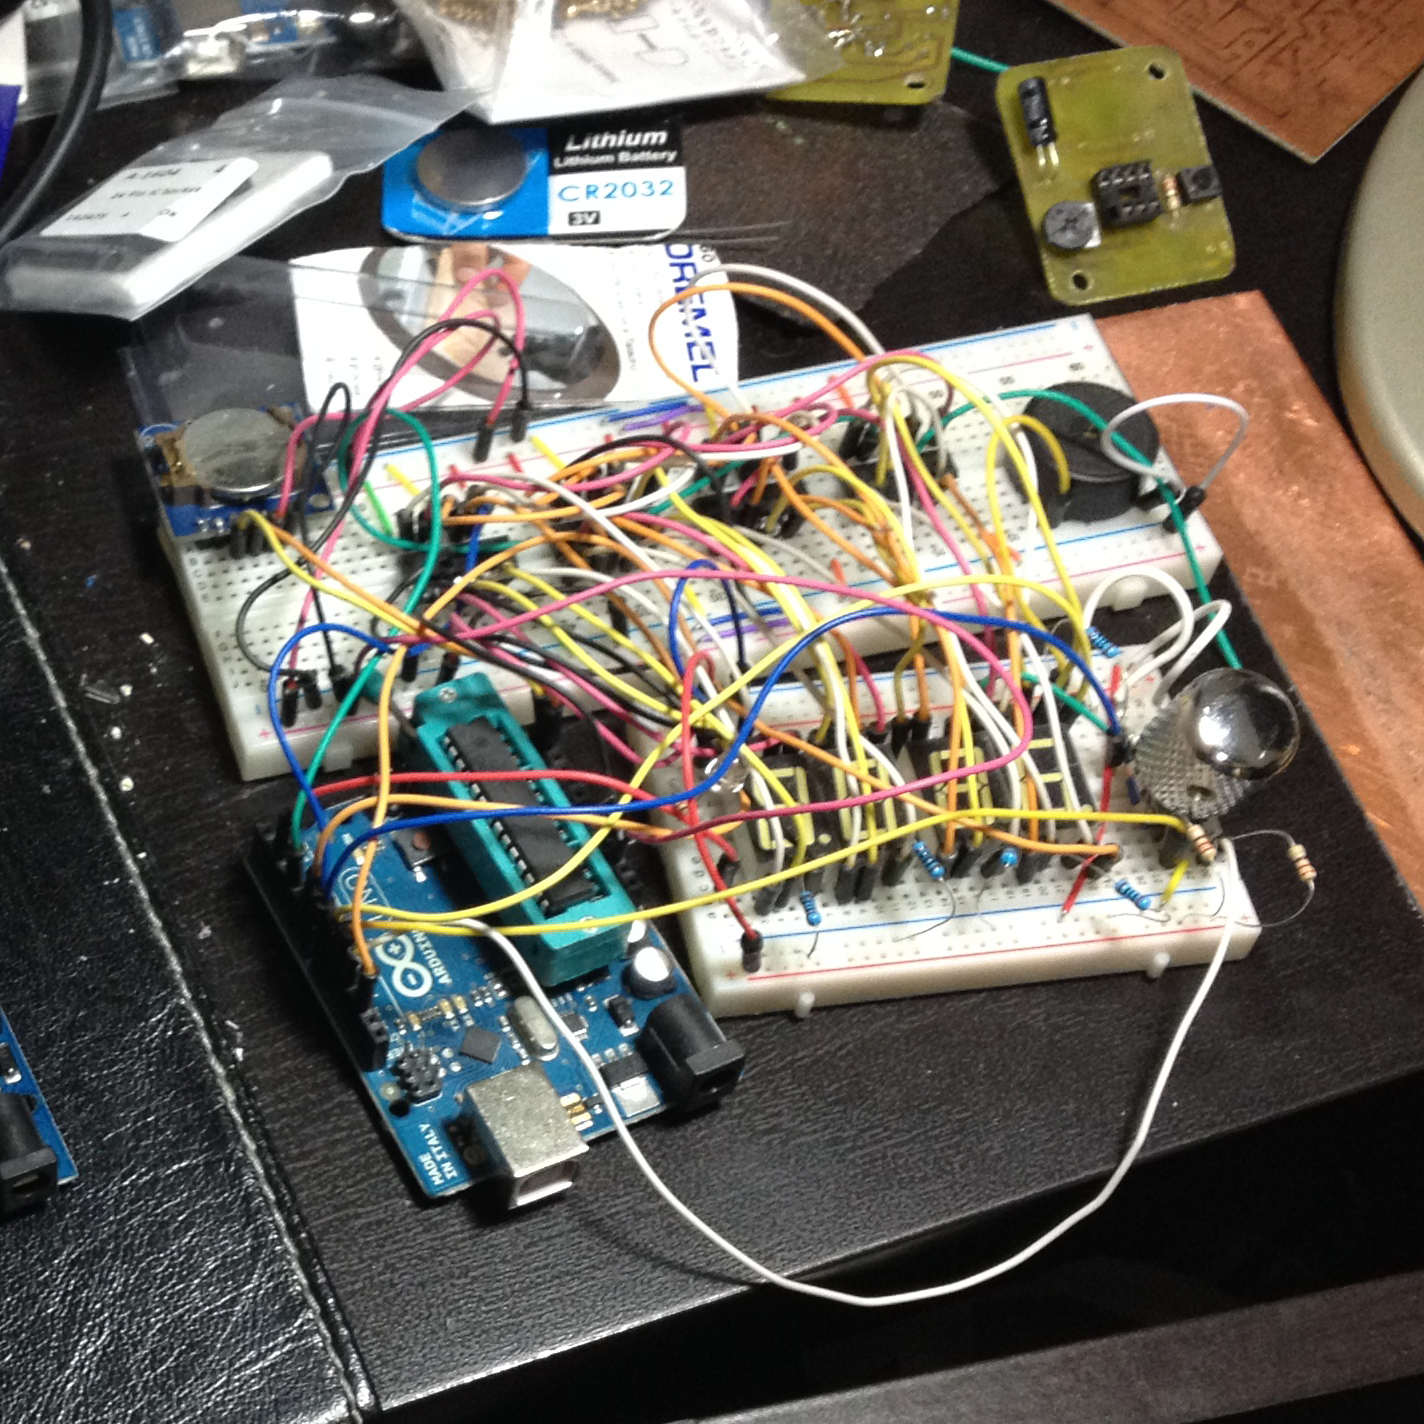
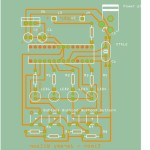
I could barely see the digits under all those wires! So I set out to make a better design and stumbled upon the MAX7219 chip and this very helpful guide. I got the chip working on a breadboard and created a Fritzing design for it.

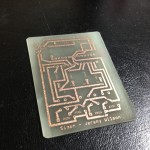
I started out making a single-sided PCB version that required jumper wires, but I decided that I wanted a cleaner look. I designed and etched my very first dual-sided board, and it worked!

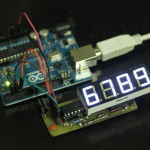
Here is the thing in operation. I made some simple code to cycle through all the numbers from 0-9999:

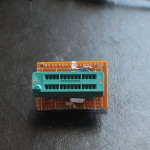
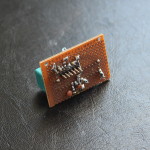
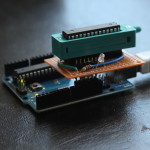
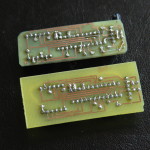
Here are some photos of the single-sided and dual-sided versions:
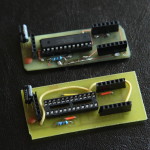
As usual, you can get the code and schematics on my github: https://github.com/jerwil/MAX7219_Hello_World

ATMega328 Flashing Sheild

About a year ago when I first started with Arduino, I learned that projects can be taken off the arduino to stand alone on a breadboard or finished PCB. I also discovered that it was significantly cheaper and easier to buy an ATMega328 chip without a bootloader and burn the bootloader yourself instead of buying one with the bootloader preloaded.

I followed a guide from 3guys1laser.com to get everything I needed to burn a bootloader onto a breadboard:

Flashing Sheild Construction

I then decided that it would be inconvenient to have to bring out a breadboard and wire everything up every time I buy a new ATMega chip. Thus, I created a “shield” of sorts that would plug directly into an Arduino.

I used a ZIF socket to make taking ATMega chips in and out a breeze. And since I’ve been experimenting with photography and animation lately, here is an animation of the shield in operation, burning a bootloader onto an ATMega328:

Flasing-Shield-Animation

I do not have any code or schematic for this project since it was all done on-the-fly (and before I knew about github and Fritzting!). See the guide at 3guys1laser for details on how to make your own!

Music Fest Beacon – Field Testing

A few months ago I posted about a music festival beacon that I created to help my friends find me in the crowds. After going to 2 music festivals with it, I am happy to report that it is a success! My friends were able to see me in very large crowds as long as it was dark out. I attached the device onto a tent pole to allow for hands-free use and to make it even higher in the air.

For proof of how visible a simple light-up ping pong ball is, check out this animation I made from a couple of photos I took of the screen at one of the performances. The camera was looking at the crowd from behind. That color changing dot is the beacon!

Crowd-photo-1


Arduino Simon – Final Version

My first ever Arduino project has been through a series of upgrades as I’ve learned new techniques for making electrical circuits. It all started out on a breadboard. I then learned how to break free from the Arduino and make an independent project. Next, I created a more permanent version of my Simon game on a pre-perforated board. And now my Simon game is here in its final form, etched onto a copper board:

Simon Etched Side View

I am pretty proud of how this turned out; I think it looks a lot neater and more professional than my previous iterations of the game. I was happy to go back to my first project and give it a final touch with an etched design.

You can see me losing at the game here:

Here are some additional photos of the project:

As usual, you can get the code and schematic on my github: https://github.com/jerwil/Simon_Etch

Check out the evolution of the project:

Simon Breadboard

Breadboard version

image_2

Perf board version


Musical Arduino-based Birthday Card

This year, I wanted to make my brother something special for his birthday. Instead of just sending him some store-bought Halmark card, I decided to make him one myself! Using my new-found Arduino skills, I set out to create a birthday card that would inspire him to learn to solder. The end result is the educational musical birthday card:

Birthday_Card_Photo

This was my first ever two-sided PCB, although it doesn’t really take advantage of any communication between the two sides of the board. The two-sided board is just used such that the writing on the card and the circuit traces can be on opposite sides for aesthetics.

With the card, I included a kit of parts as well as a link to instructions to assemble the card: https://www.jeremyadamwilson.com/birthday-card-instructions/

I made the “silkscreen” portion (the black text and images) by toner transfer after I etched and clean up all the copper traces. This proved to be a very effective and simple method of adding text and images to a board for a more complete and professional look.

A quick making-of gallery:

My brother soldered the parts on, and he sent me a photo of the completed birthday card, which works!

birthday card complete

A demo of the circuit working can be seen here:

http://www.youtube.com/watch?v=ASfwomKhCUE

As usual, all of the code and a schematic are posted on github:

https://github.com/jerwil/Birthday_Card

Special thanks to http://miduino.net/ for providing an easy way to turn a midi file into arduino code.