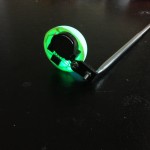
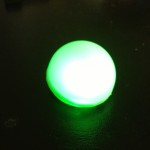
A couple months ago at Ultra Music Festival, one of my friends was carrying an inflatable penguin that he held above his head so that we can always find the group in the crowds of the festival. This gave me the idea to make a compact yet noticeable beacon. Using an old TV antenna and a ping pong ball, I created a light-up color changing beacon. This is what it looks like:
Here it is in action:
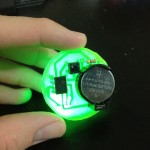
This showcases how the button is used to change the flashing speed as well as cycle through individual colors:
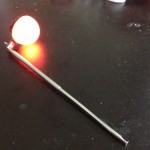
Here it is in use at a music festival! More more info, check out my field testing post:
The code, circuit diagram, and PCB layout are available here:
https://github.com/jerwil/ping_pong_light
How I Made It
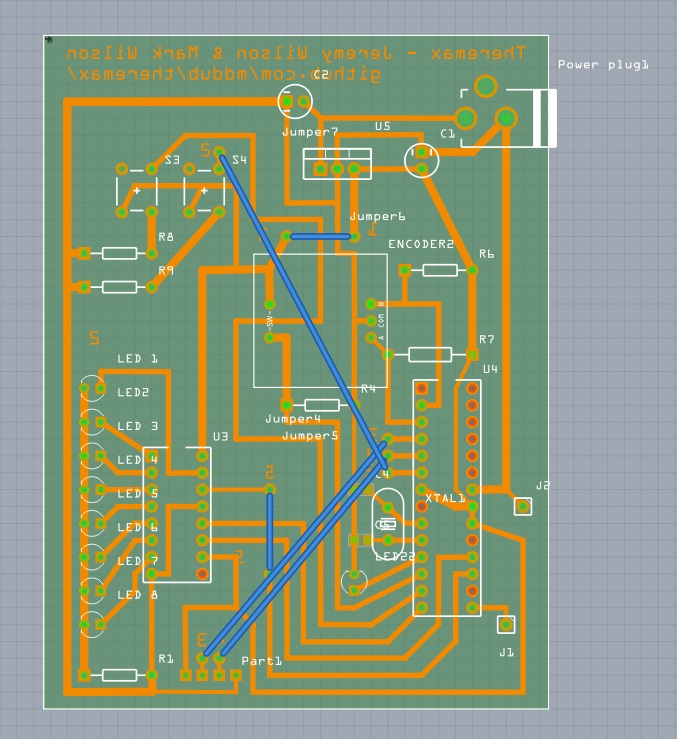
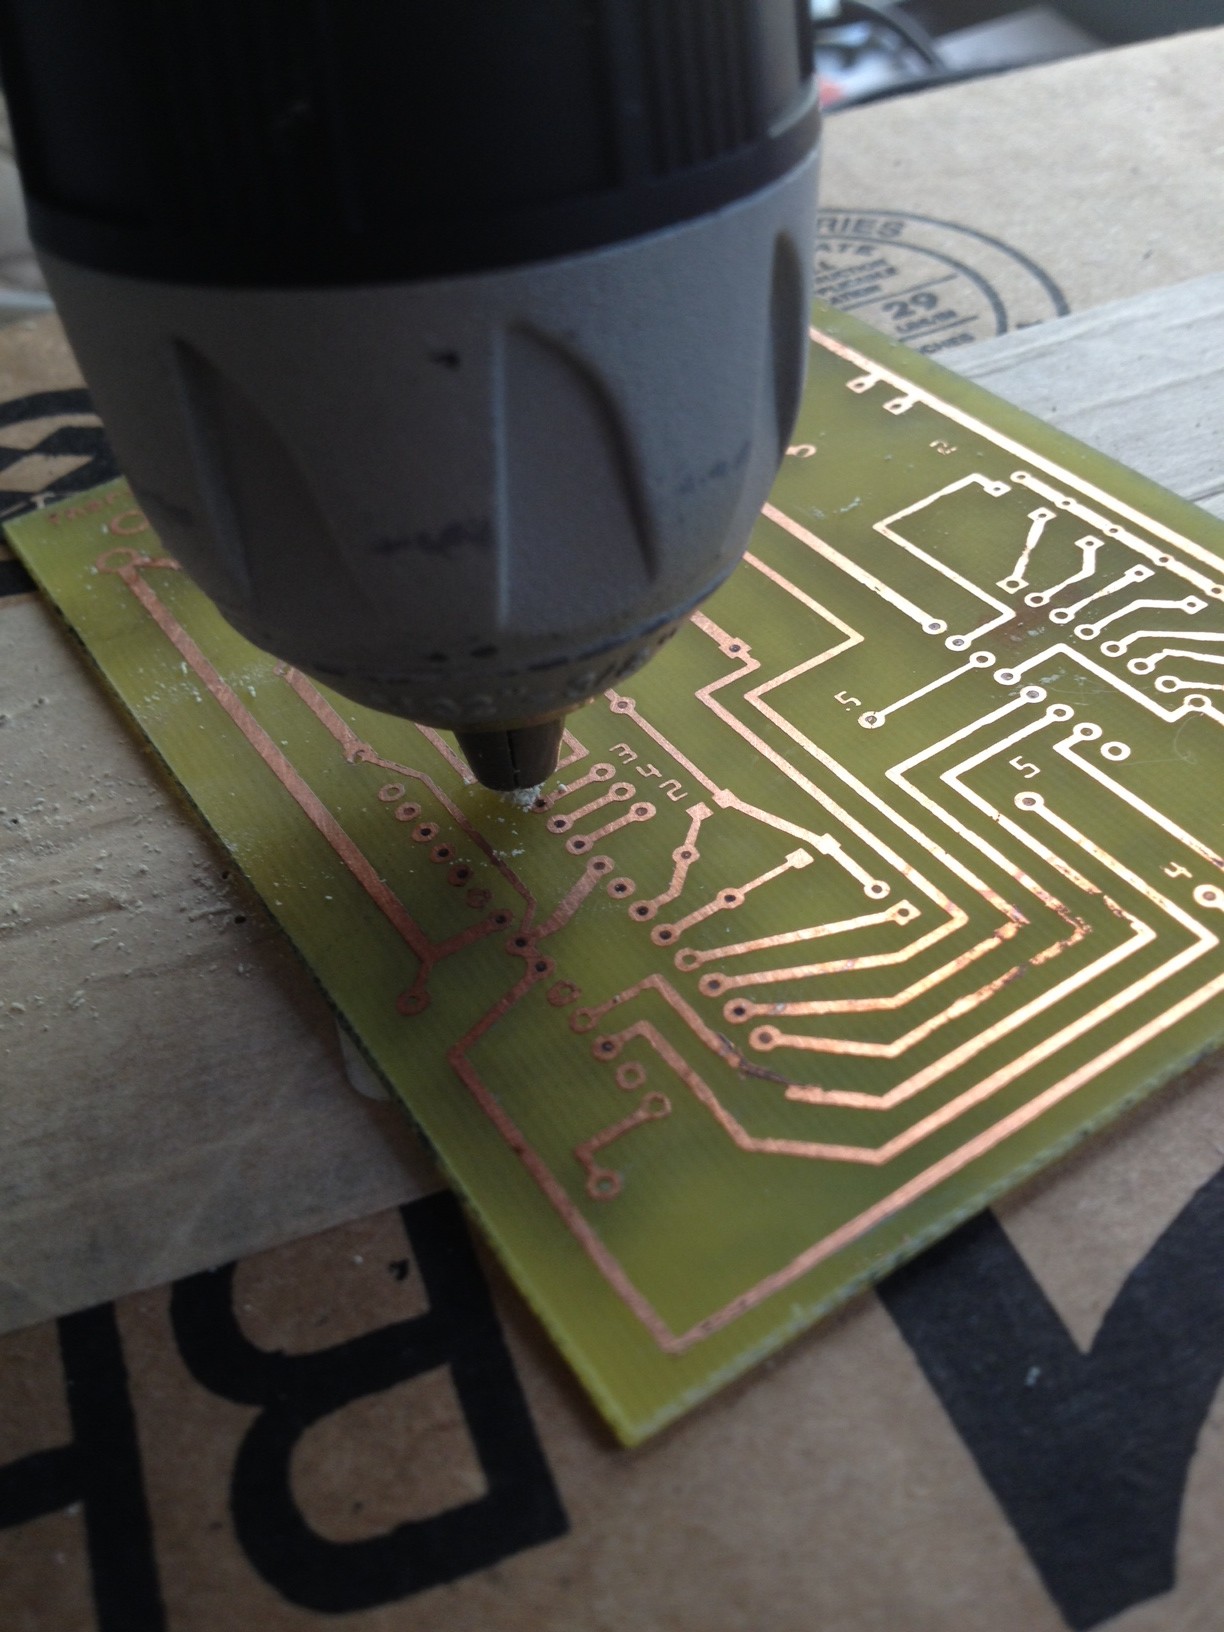
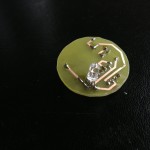
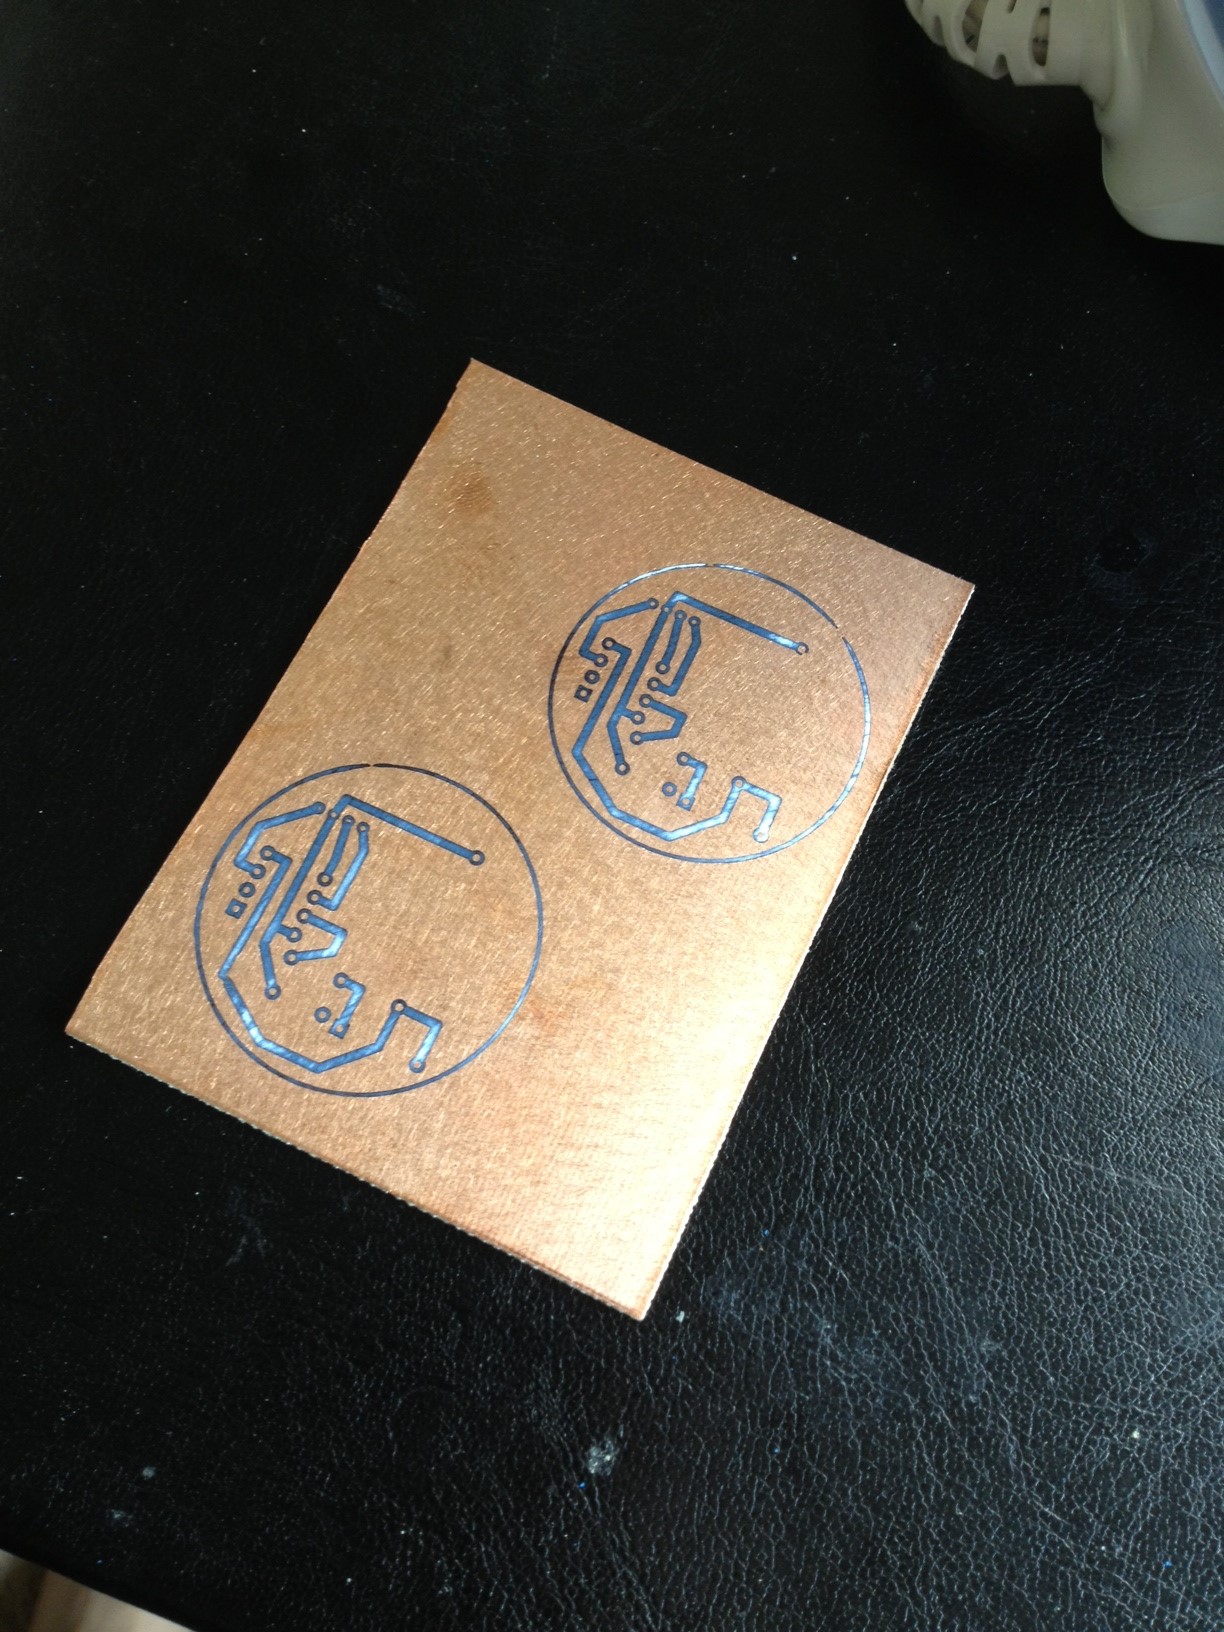
To start off, I programmed the ATtiny and got the circuit working on a breadboard, and then I designed the PCB using Fritzing. I knew that I was going to use a pong pong ball, so I matched the PCB to the ball’s diameter at 40mm.
![]()
![]()
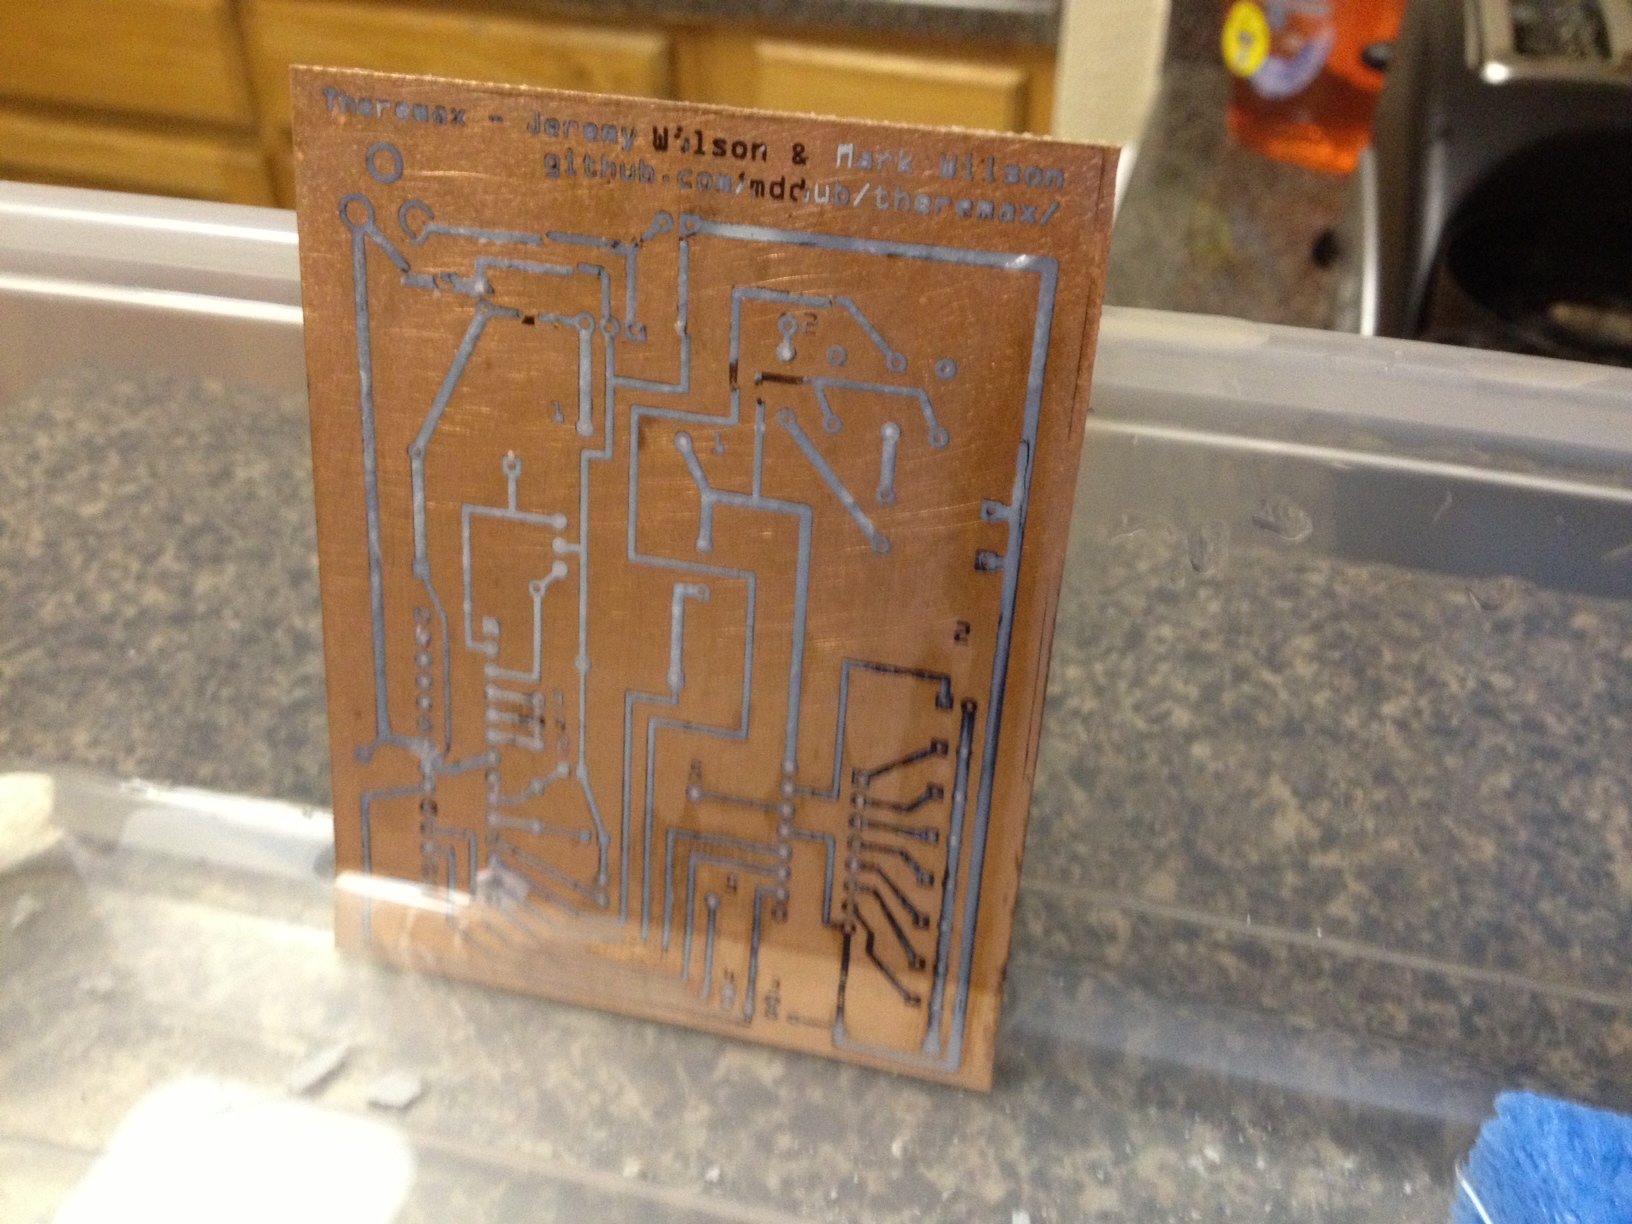
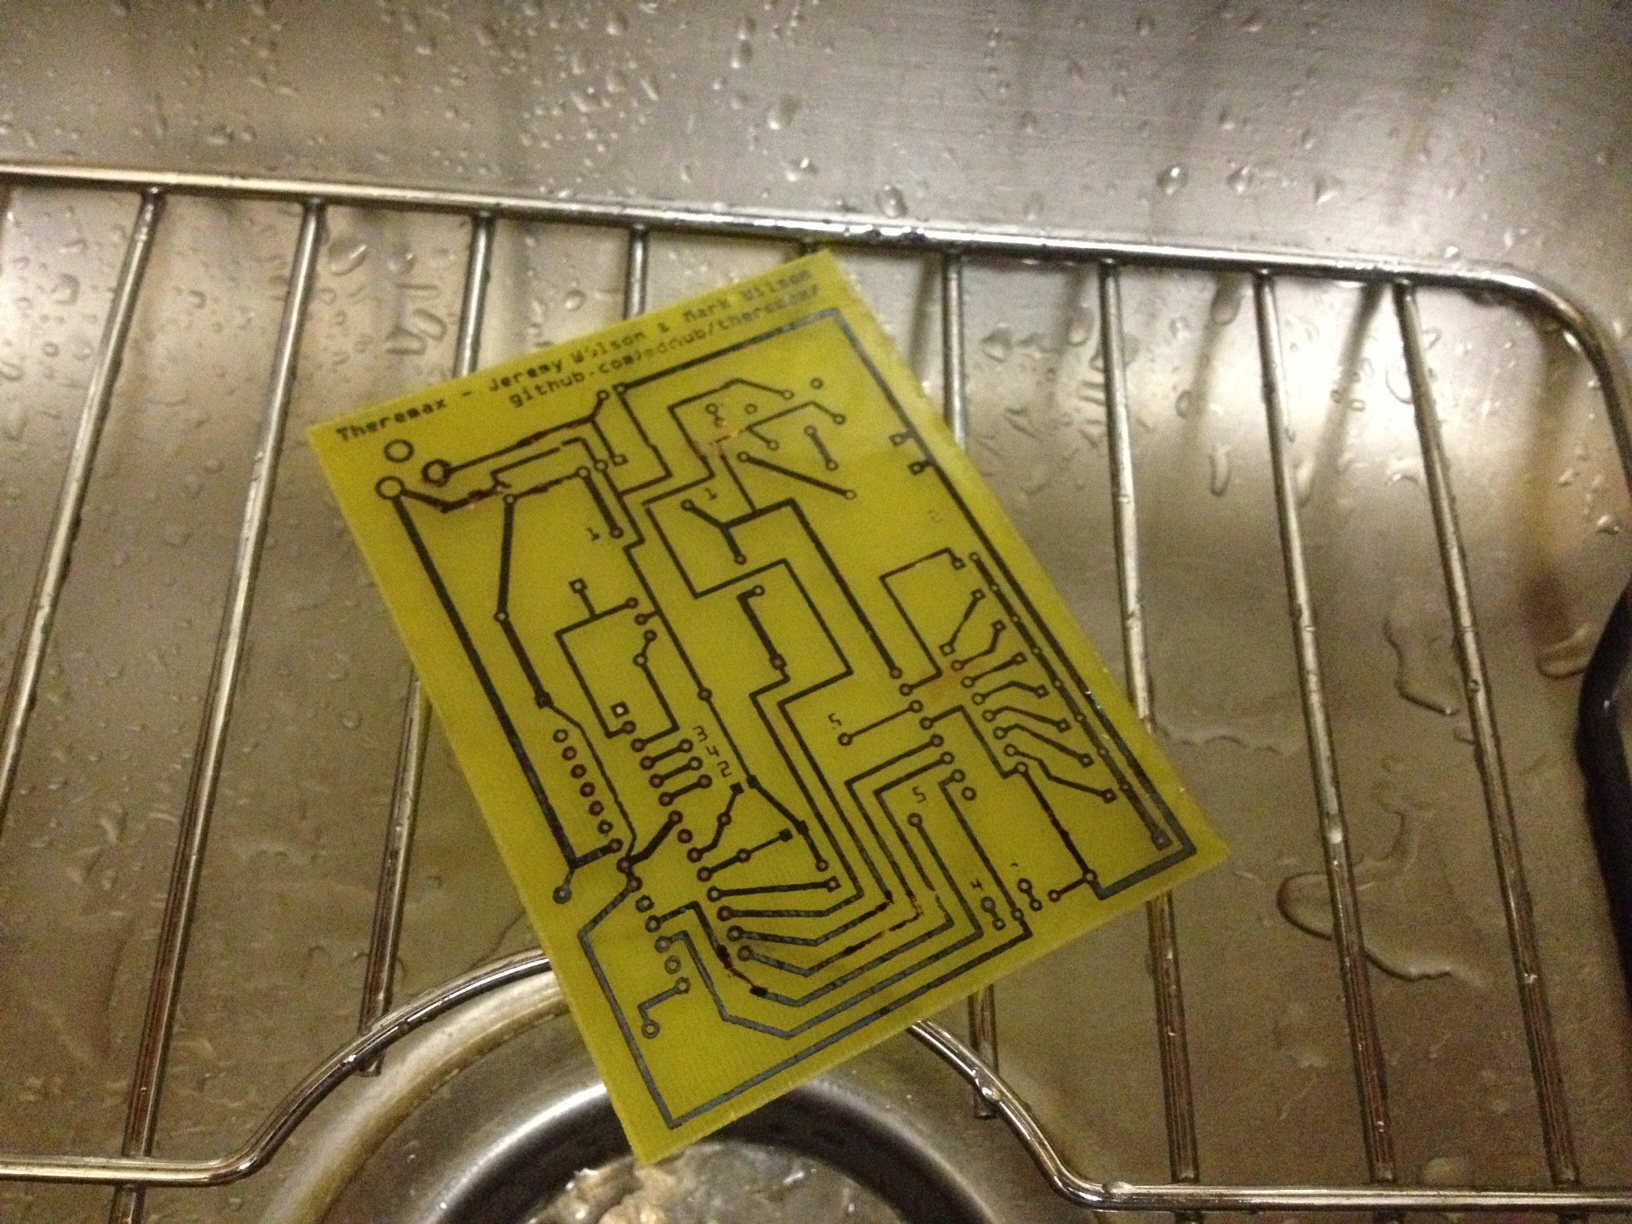
I then printed out the PCB diagram onto photo paper using a laser printer and transferred the image using a clothes iron.
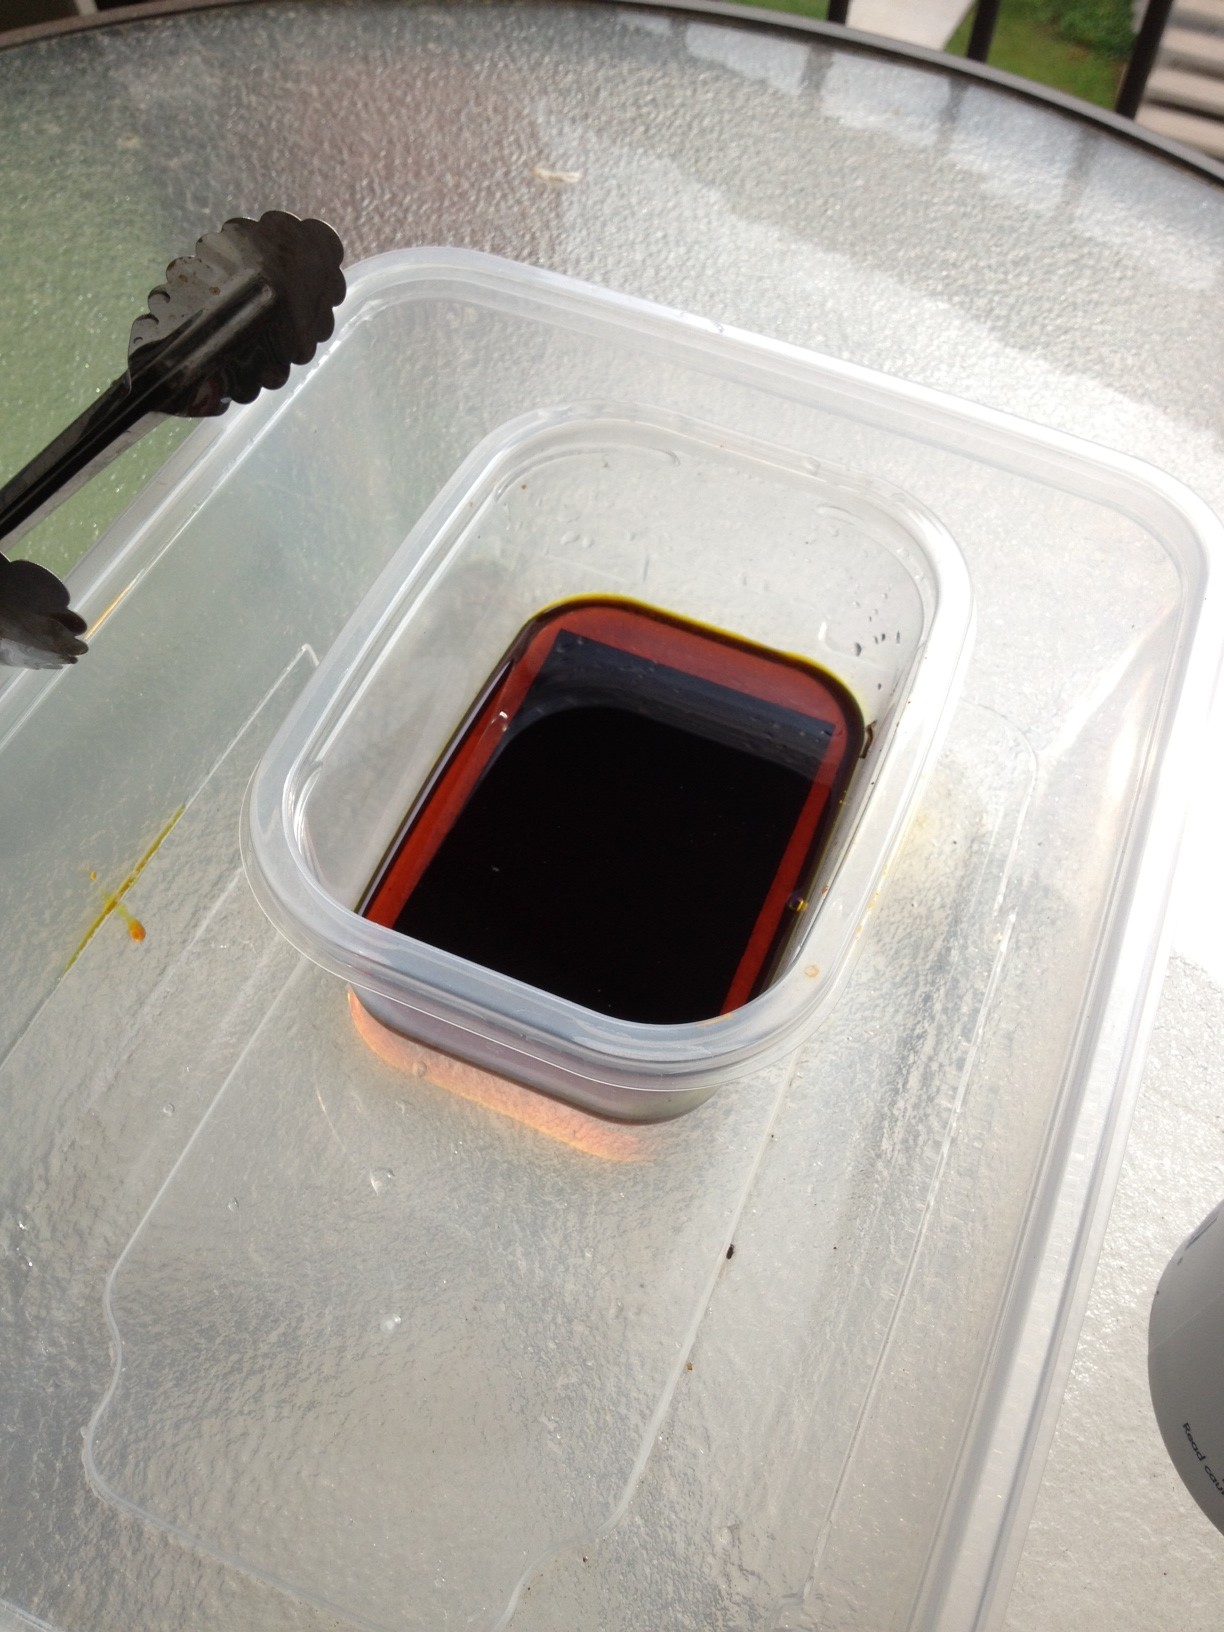
I then placed the board into a bath of Ferric Chloride for about an hour.
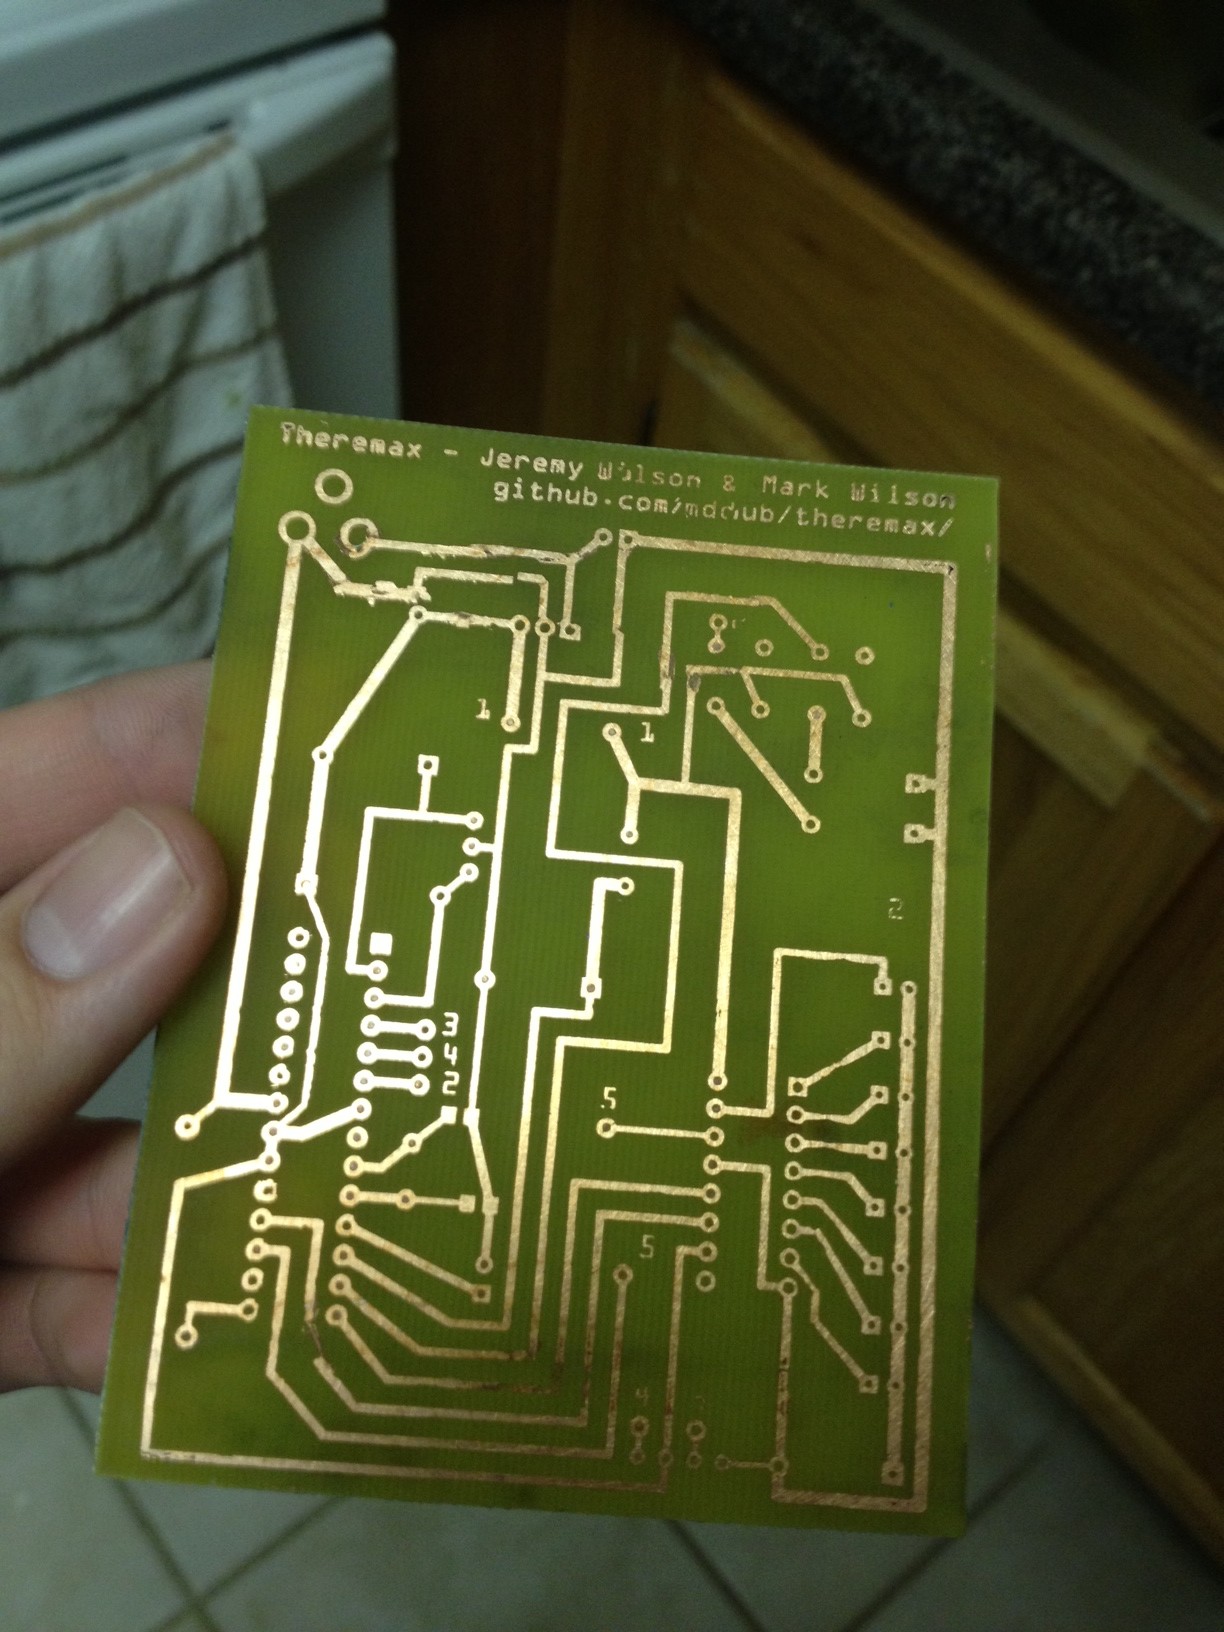
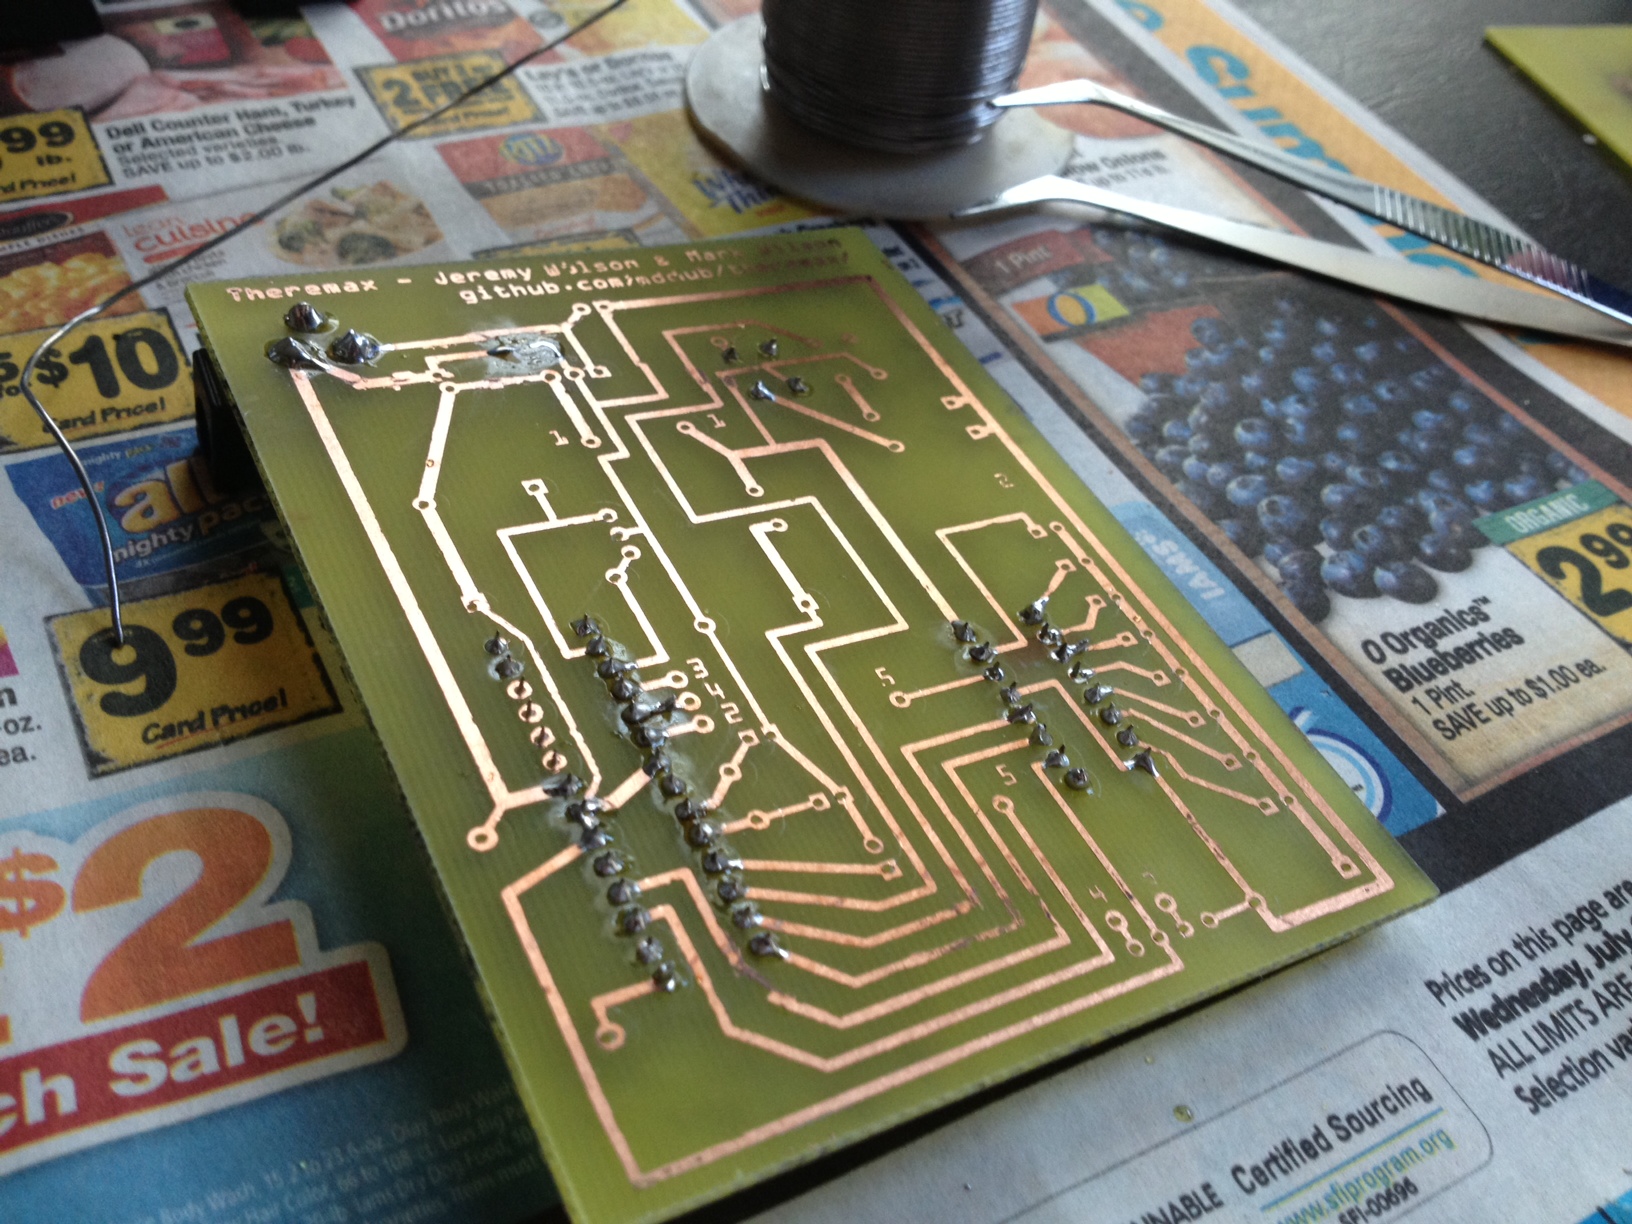
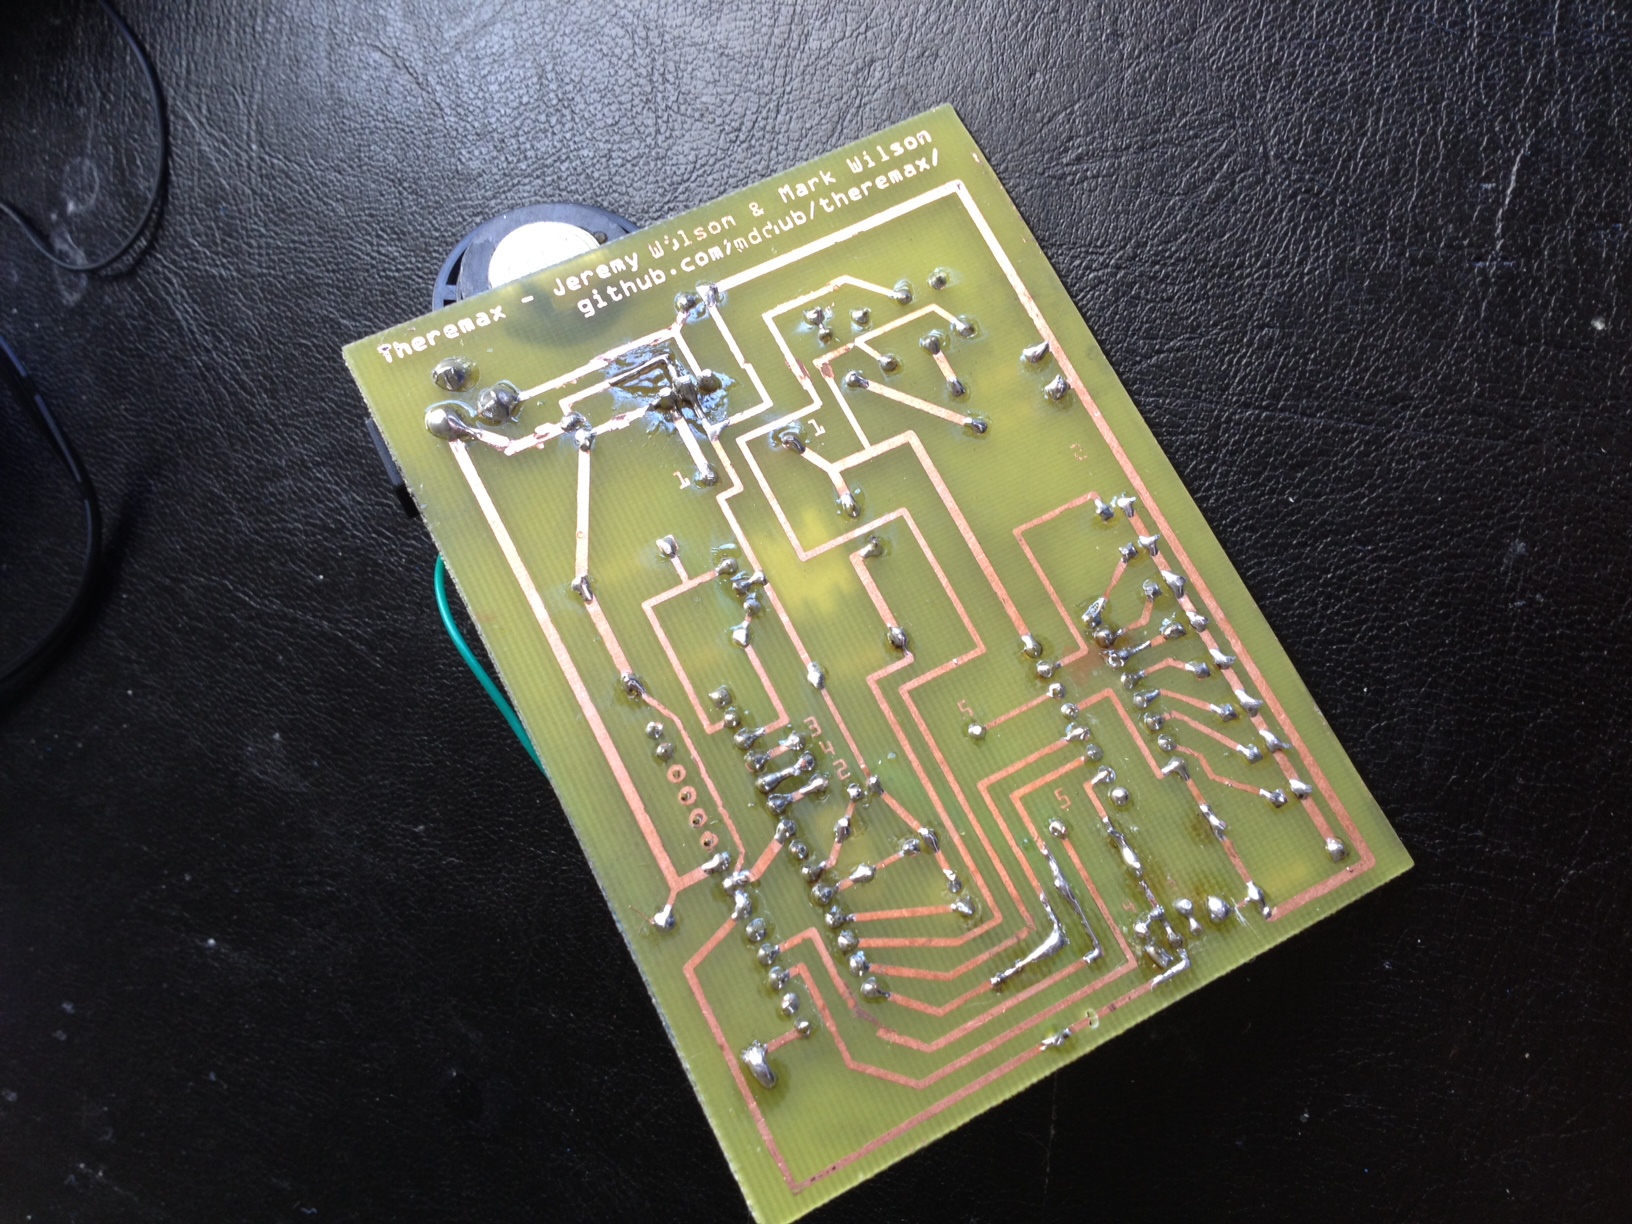
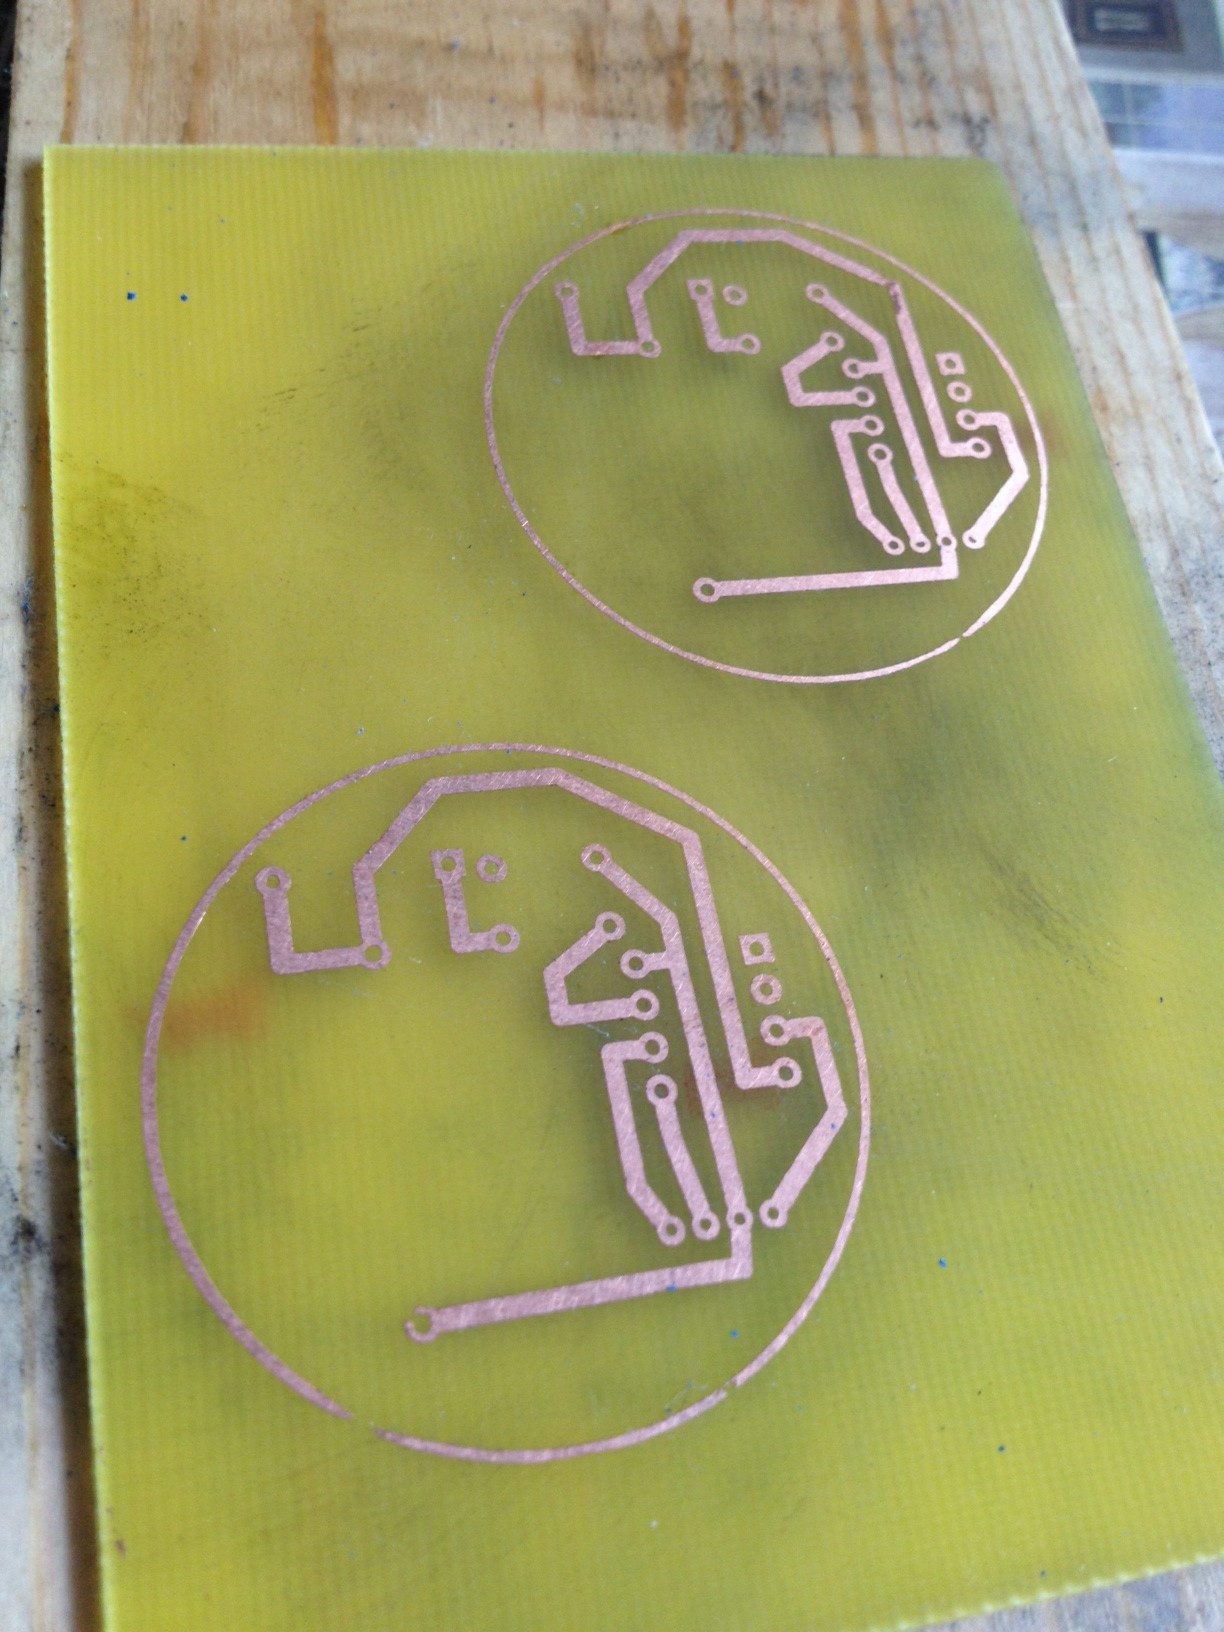
After cleaning off the toner, a pretty good etching job is revealed. I printed two on one board since I had the room in case of any problems with one of them.
I am pretty inexperienced with the Dremel, so I was pleased to find it wasn’t too difficult to cut the outline of the board.
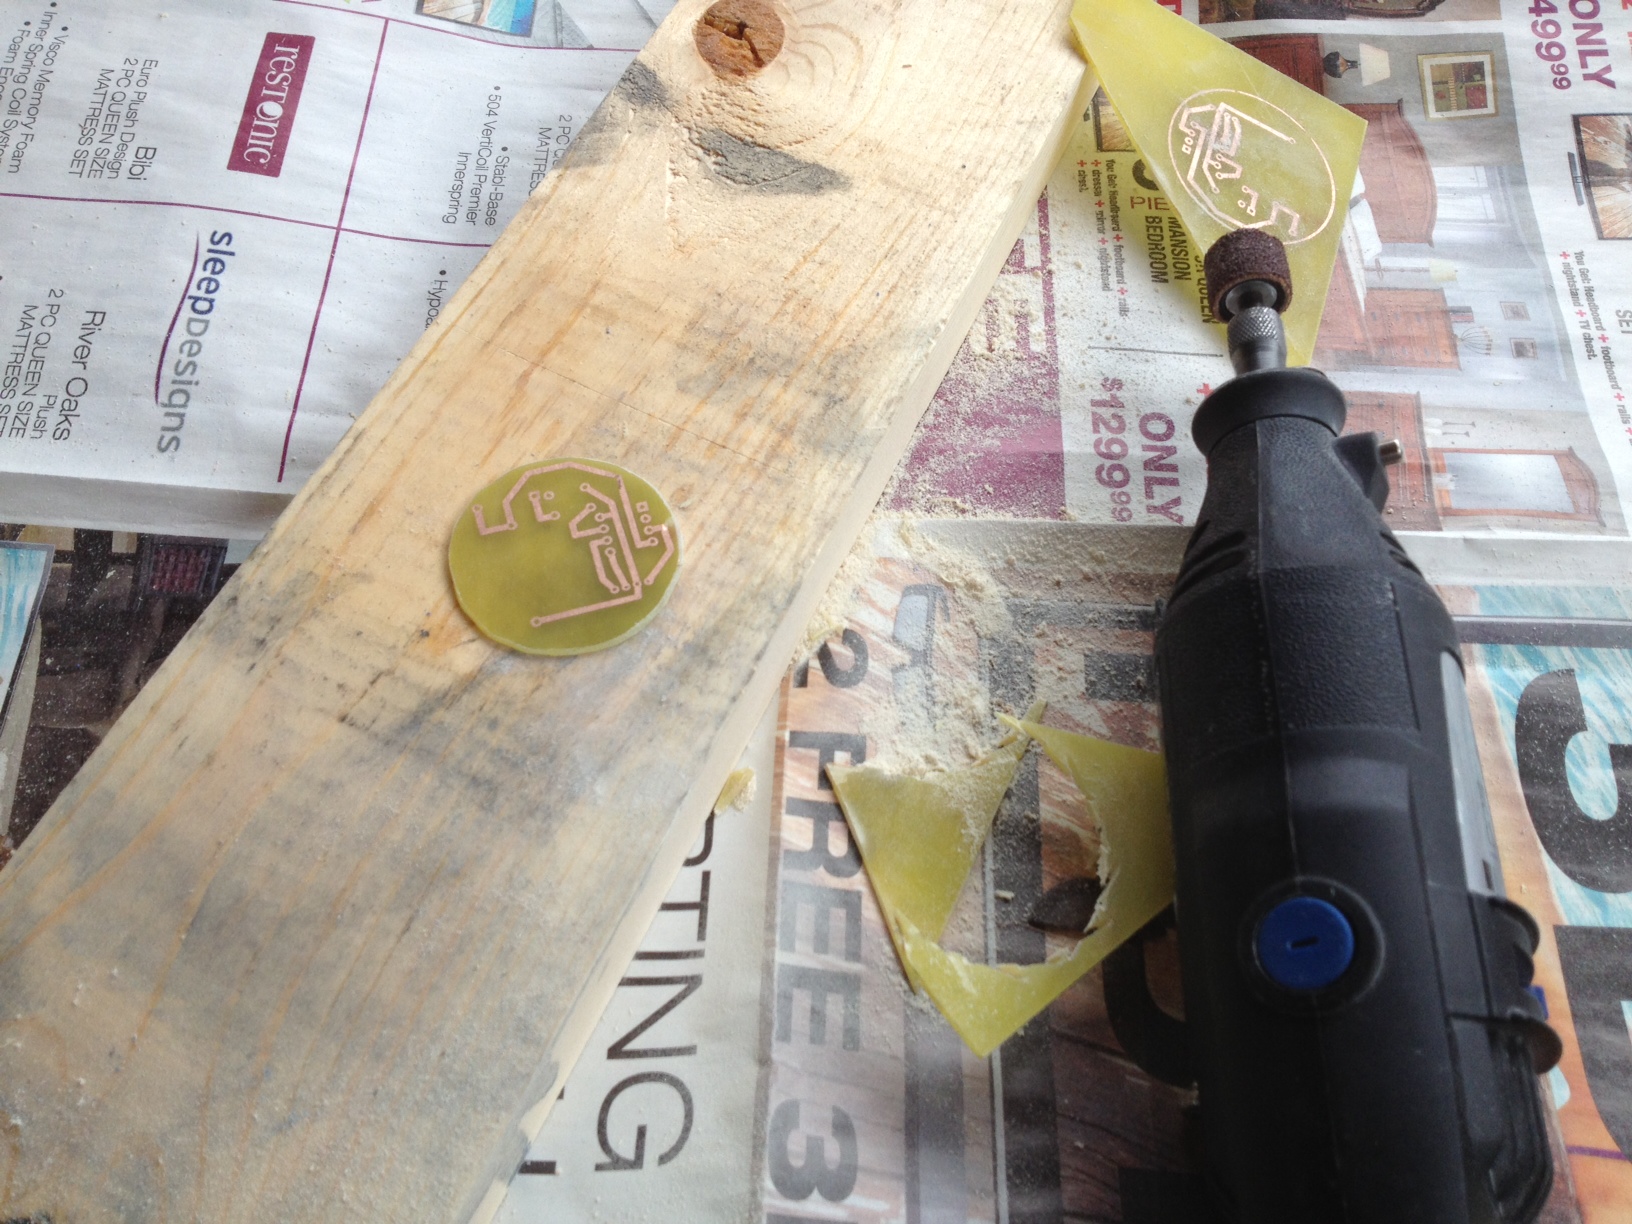
I then cut a ping pong ball in half with the Dremel. It fits the board nicely.
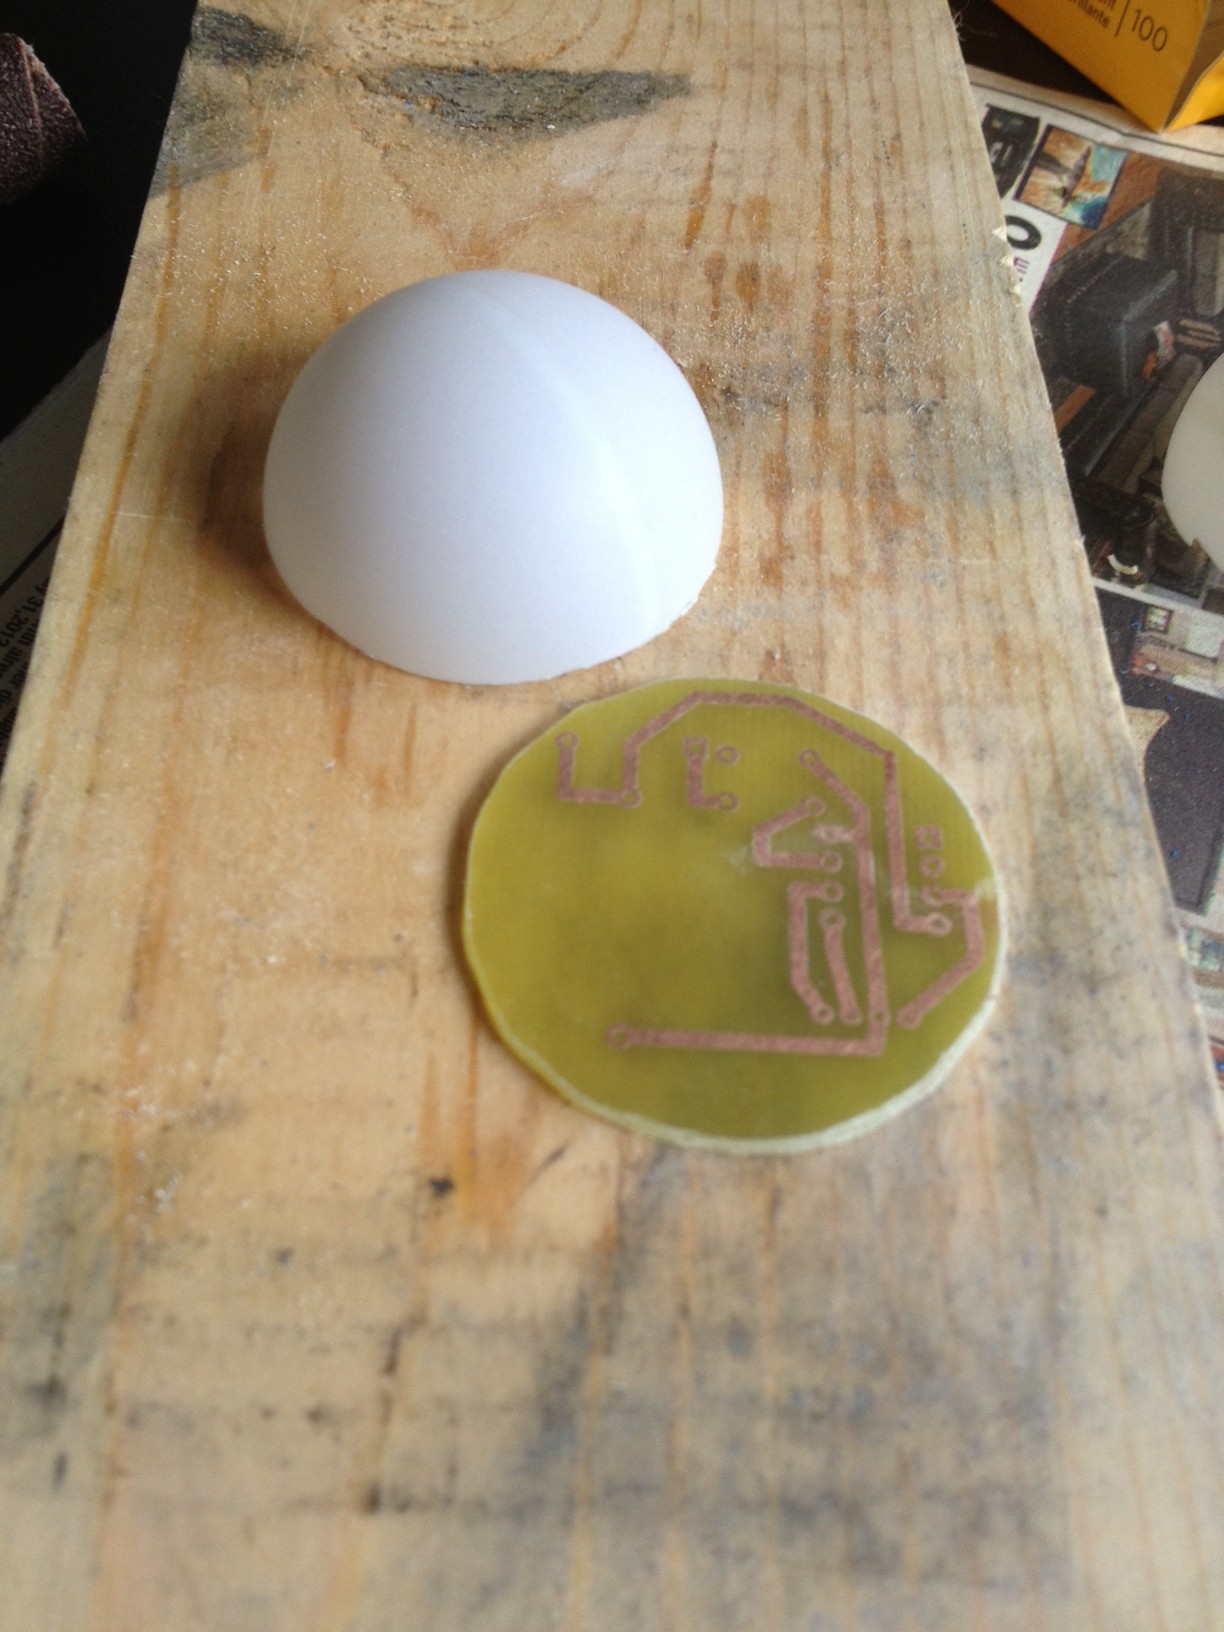
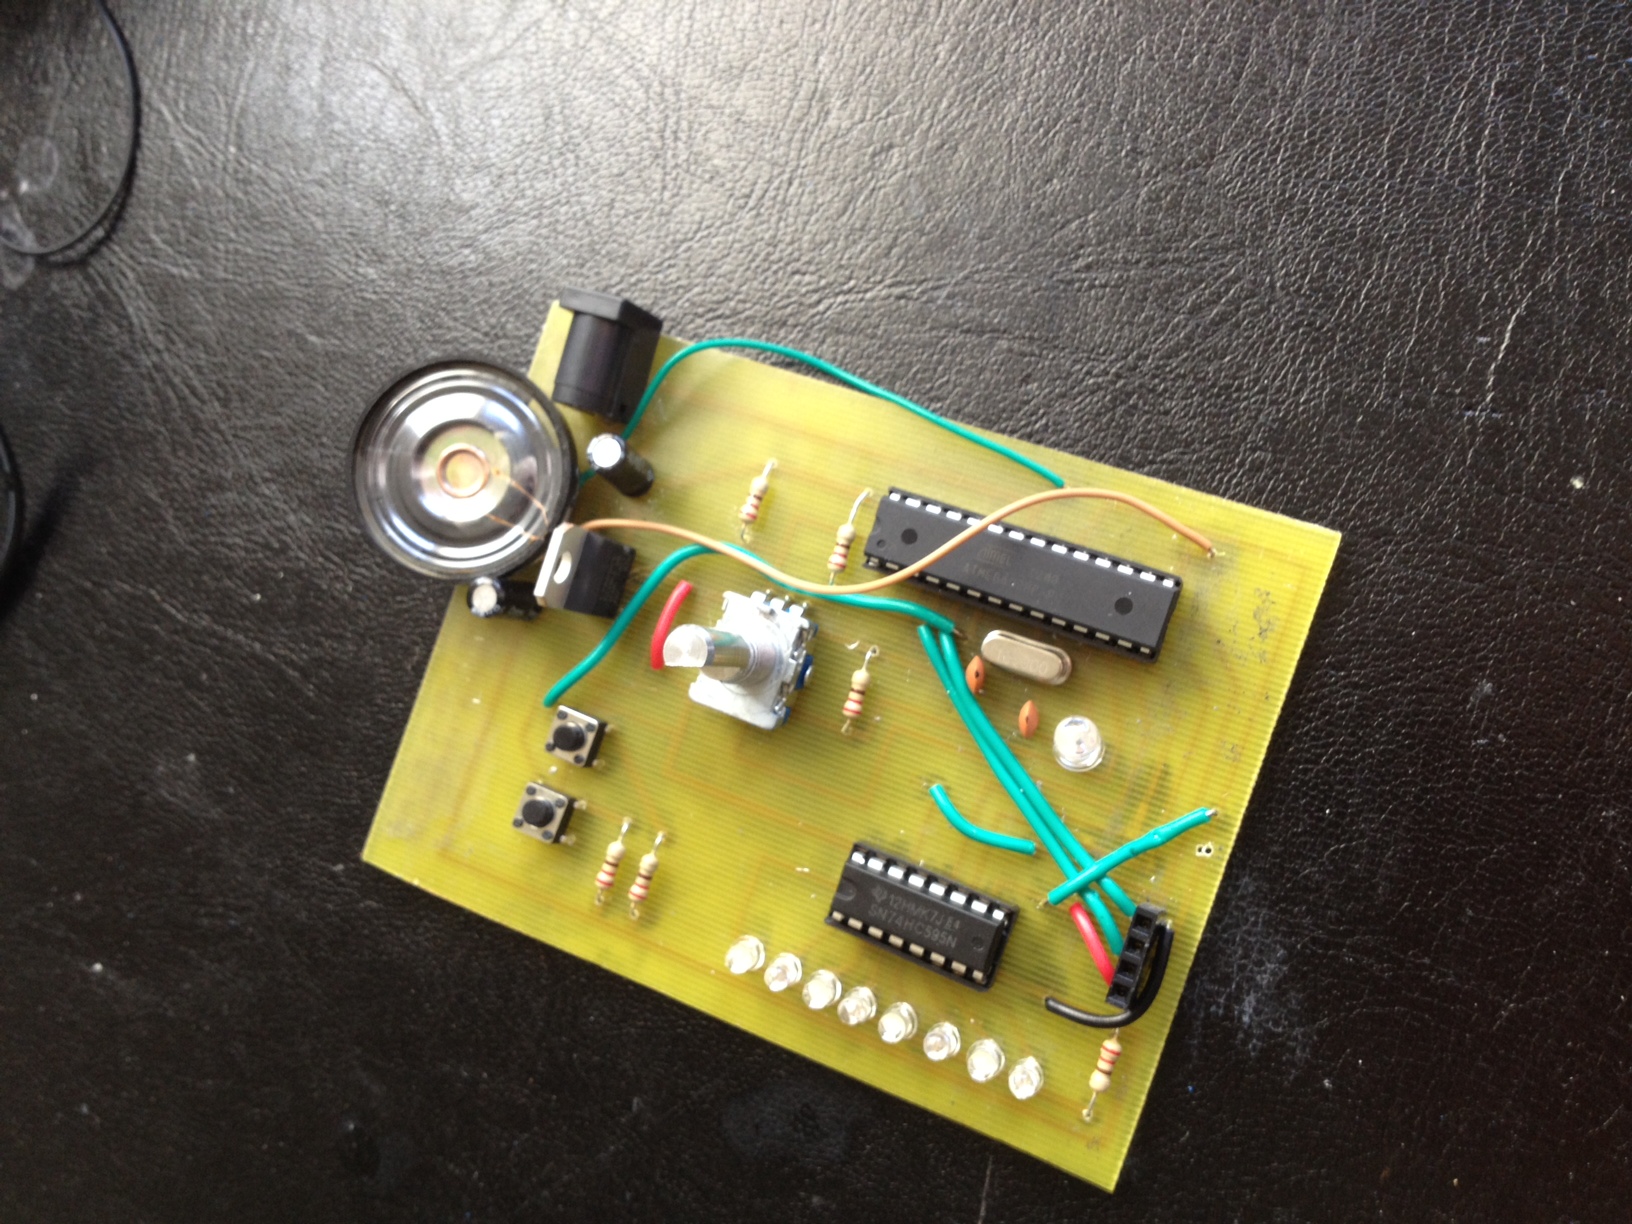
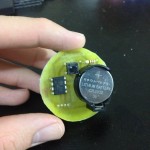
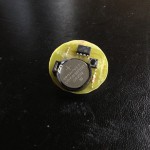
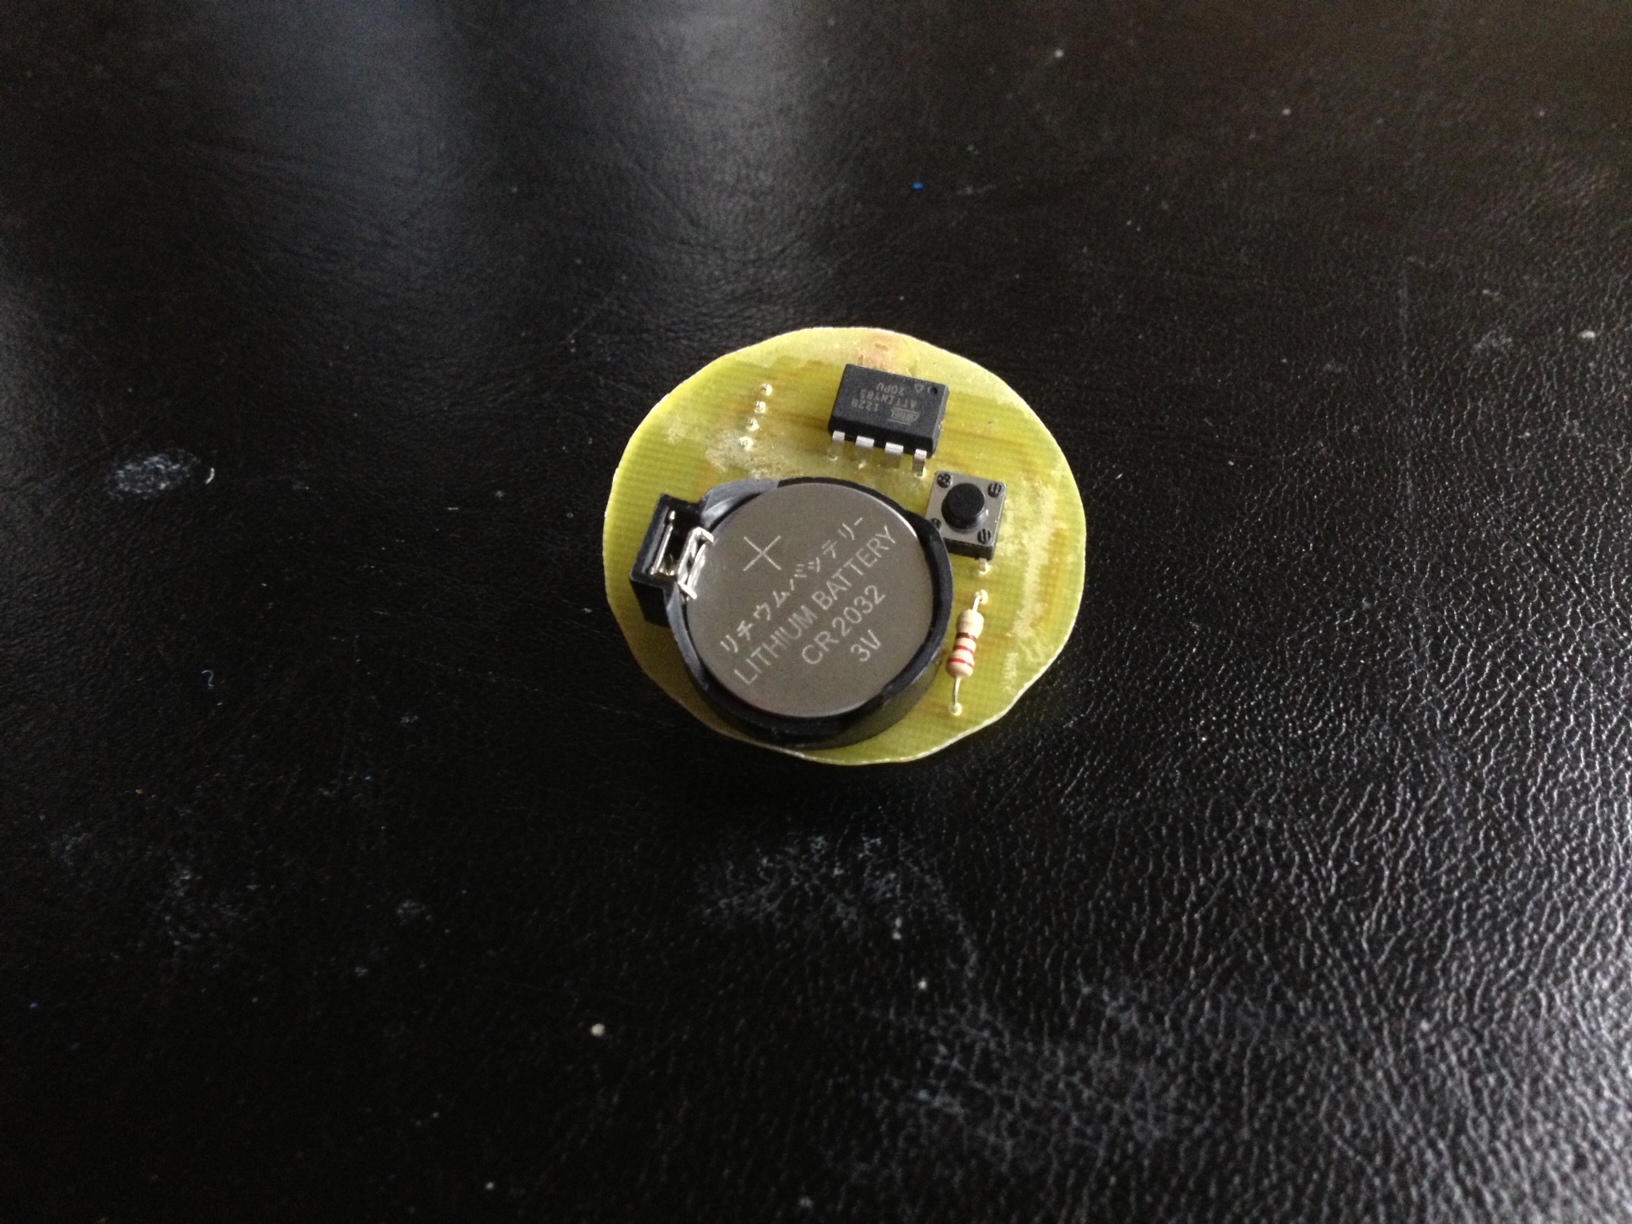
I then drilled the necessary holes and soldered on the parts. I wanted the button and battery to be accessible, but the LED to be on the opposite side. Here is the board:

This was a fun 12 hour project split over 2 days. One day for coding and design, and the second for etching and fabrication.